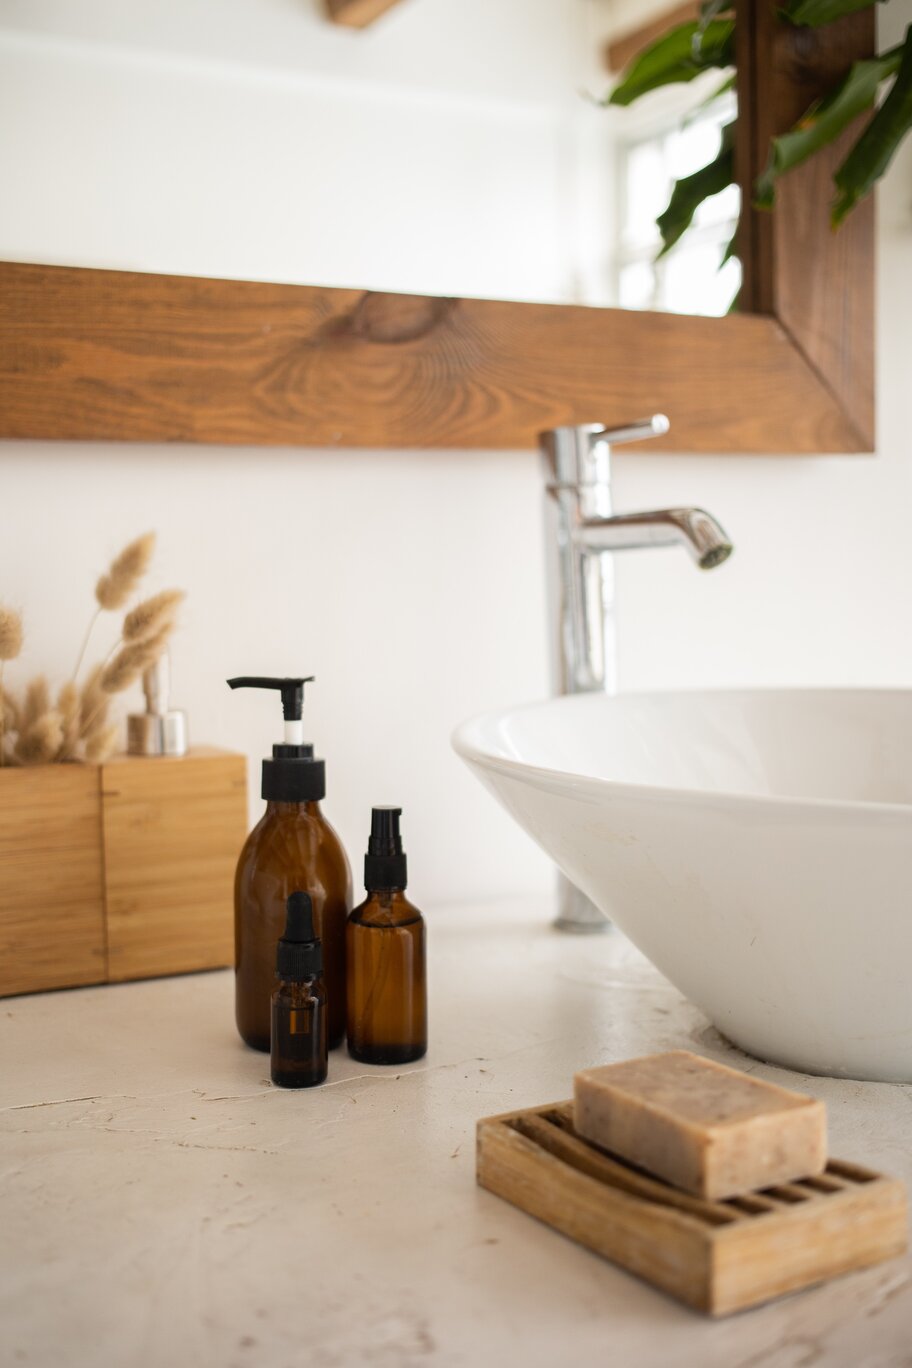
Collecting multiple types of essential oils and creating your own blends has its own perk. You get to curate what kind of scent you want for your aromatherapy as well as the effect you desire.
However, as things run out and you have new blend ideas, you may start to wonder how exactly you’re going to get new ones and what to do with the ones you’ve emptied out. On the other hand, you can just get new packaging and just leave it at that.
If you want to go through an eco-friendly route, sanitising and repurposing the bottles is the best way to go. Whether it’s an open cap, used through a dropper or sprayed out through the top, following these steps should help get you some clean essential oil bottles at the end of it.
1. Gather Your Tools
As with any procedure, you’re first going to prepare the equipment needed for the actual process of cleaning your essential oil bottles. When it comes to items, there are not any industrial-grade objects needed. A few simple dishes would be enough to cleanse the bottles. However, we recommend using an over after the cleaning for the sterilisation phase of cleaning.
Other items needed also include:
- Vinegar. Even when an essential oil bottle already appears empty, there’s a bit more of the essence in the bottle. Vinegar helps absorb the rest of the oils and scents lingering in the bottle so that it’s just like brand-new.
- Dish Soap. Cleaning always requires soap, and the best type to use for essential oil bottles would be liquid dish soap. Liquid hand soap can work too, but the former may be better for the glass product.
- Hot Water. Three batches of hot water will be needed to fully clean out the oil from your bottles. One would be mixed in with vinegar, one will be used with the soap and one will be used for rinsing.
2. Clean Your Essential Oil Bottles
First, soak your essential oil bottles into the vinegar and hot water mix. The measurement should be a ¼ of a cup to 16 cups of water. This can be subject to the number of essential oil bottles you will be cleaning, though.
After letting it soak in that mix for around five minutes, drain out that mixture and replace it with a combination of dish soap and hot water. After rubbing it to strip away any last layers, use another batch of warm water just to rinse everything off.
Dry and sterilise the oil bottles after completely removing any residue left on and in the bottle. Sterilising essential oil bottles isn’t that complicated, as you’re essentially just baking the glass under 200° F for a couple of minutes. Be sure to monitor your bottles accordingly.
3. Reuse Your Bottles However You Please
Finally, after the bottles have been cleaned and sterilised, it’s time to be used again. The bottles can hold different essential oils from what they had originally housed, or you could make another custom blend to fill the bottles with.
Conclusion
Essential oil bottle cleaning may not be as therapeutic as smelling lavender, peppermint and the like, but it can be satisfying to see the finished product and end up with a clean group of bottles. Plus, experimenting with different oils afterwards is quite fun!
Looking for dropper bottles to add to your collection? Anita’s Oil Essentials helps supply multiple aromatherapy accessories for aspiring essential oilers at an affordable price. Order today!


