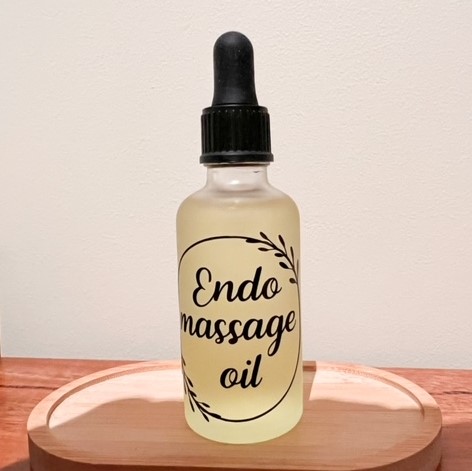
Endometriosis Massage Oil Recipe
Do you suffer from Endometriosis symptoms?
Our Endometriosis Massage Oil Recipe blend helps to ease symptoms associated with endometriosis such as pain, heavy bleeding.
Endo Massage Oil Recipe
You will need the following items;
- 15 drops Bergamot
- 15 drops Lavender
- 15 drops Eucalyptus
- 15 drops Chamomile
- Carrier Oil (We used Almond Oil)
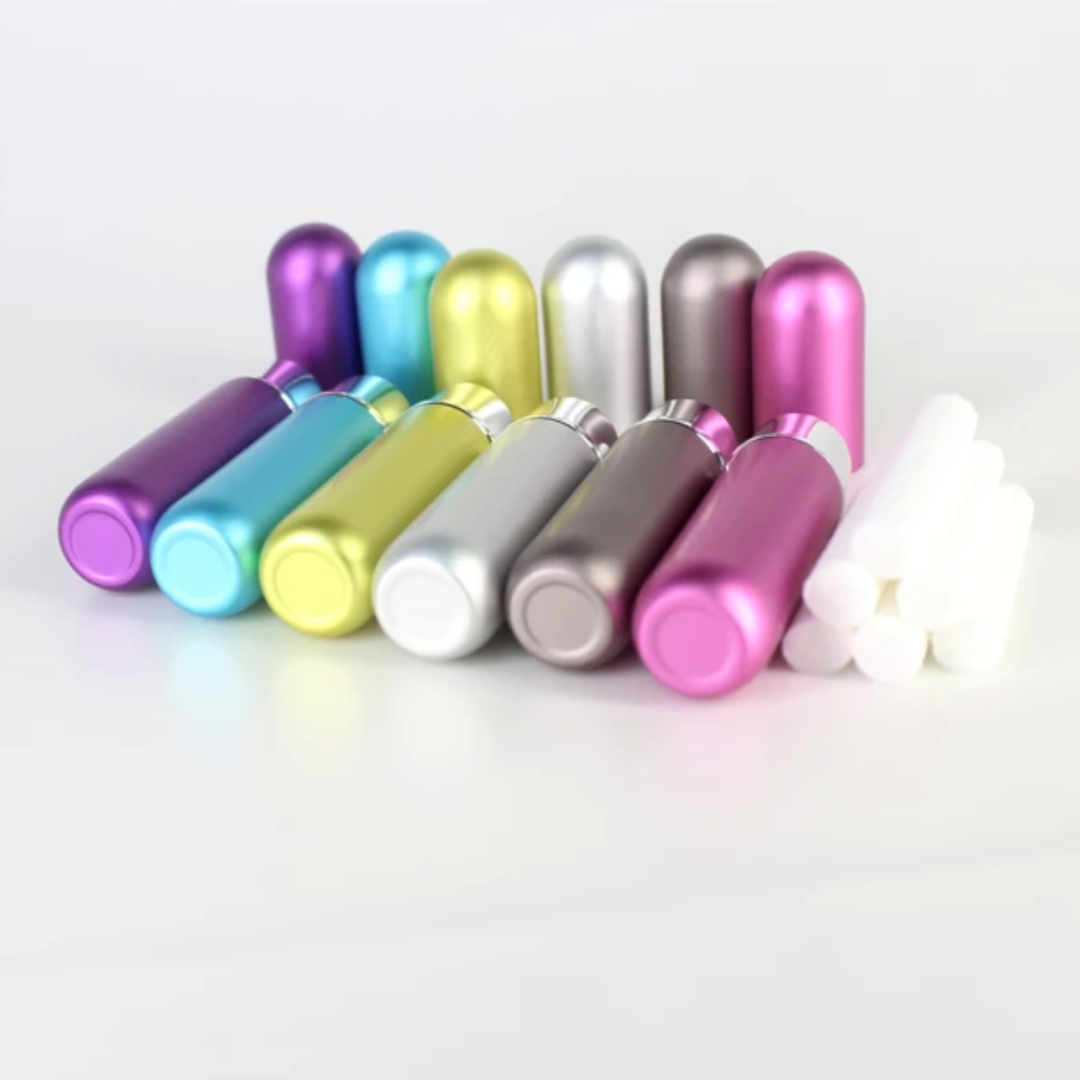
- 50ml Glass Dropper Bottle
Add all essentials oils to glass bottle and top with carrier oil. Gently Mixed to combine.
Apply as required to your abdomen area in a clockwise rotation.