What You Should Know About Mixing Cocoa Butter with Oil

Cocoa Butter

There are plenty of formulas out in the market when it comes to beauty and skincare, but some old-fashioned home remedies just can’t be beaten. There are so many good ingredients and oils that can naturally help improve the condition of your skin and can be mixed and matched to achieve what you desire.

Cocoa butter oil is a highly regarded blend due to the effectiveness and benefits that it can provide to one’s skincare. Here’s all that you need to know when mixing it at home:

Ingredients

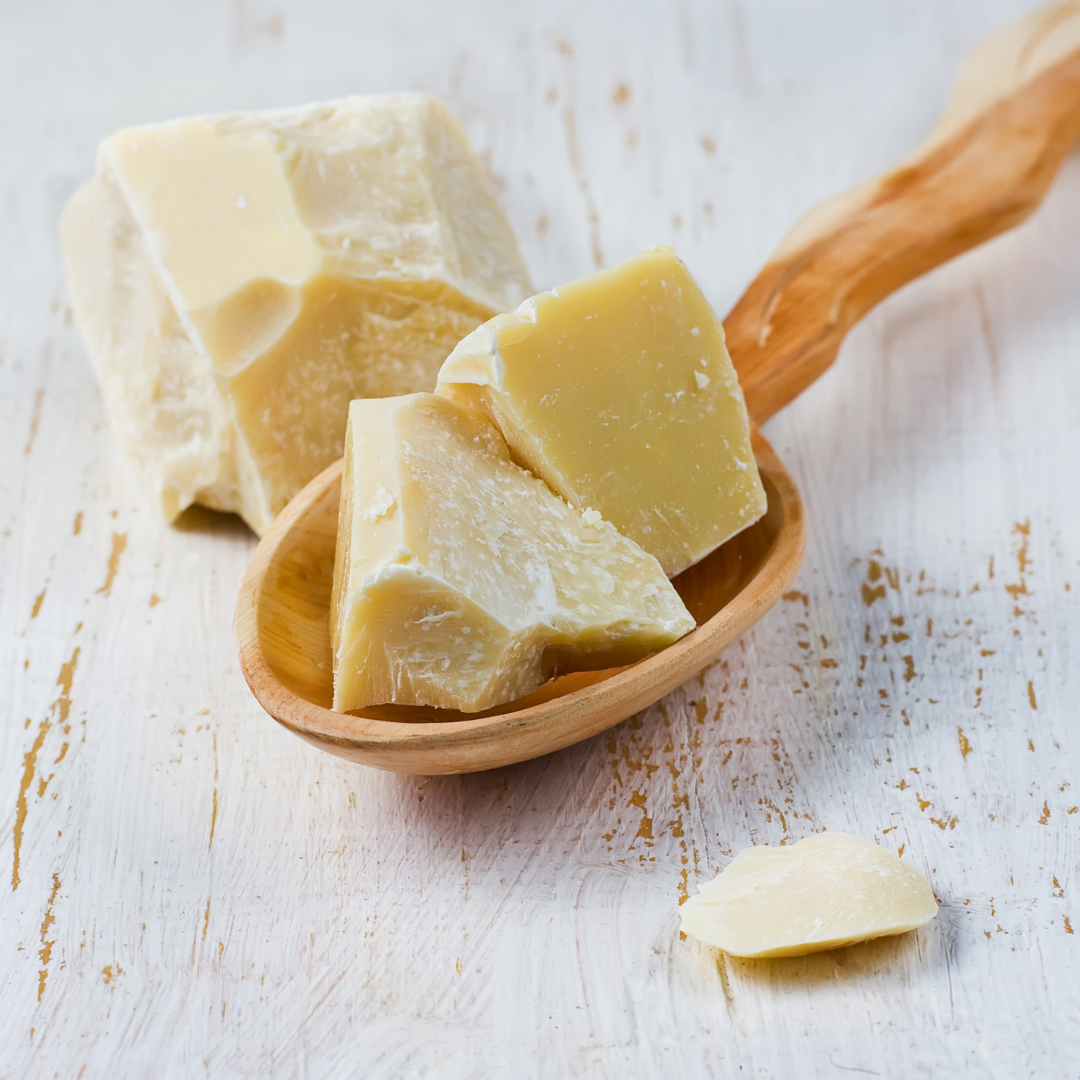
Cocoa butter is considered the star of the show. It’s a type of vegetable fat that has been derived from cocoa beans, which is normally known for its use in chocolates and other types of sweet-smelling products. However, aside from flavour and scent, it can also bring some healing properties that are perfect for the body and face. 

Cocoa butter does come in a relatively thick and firm texture, though, which can make it harder to put onto the skin. Mixing it with oil can bring the right consistency to make the blend sink into the skin better. It’s also a plus that you can take your pick out of what types you want to put in. 

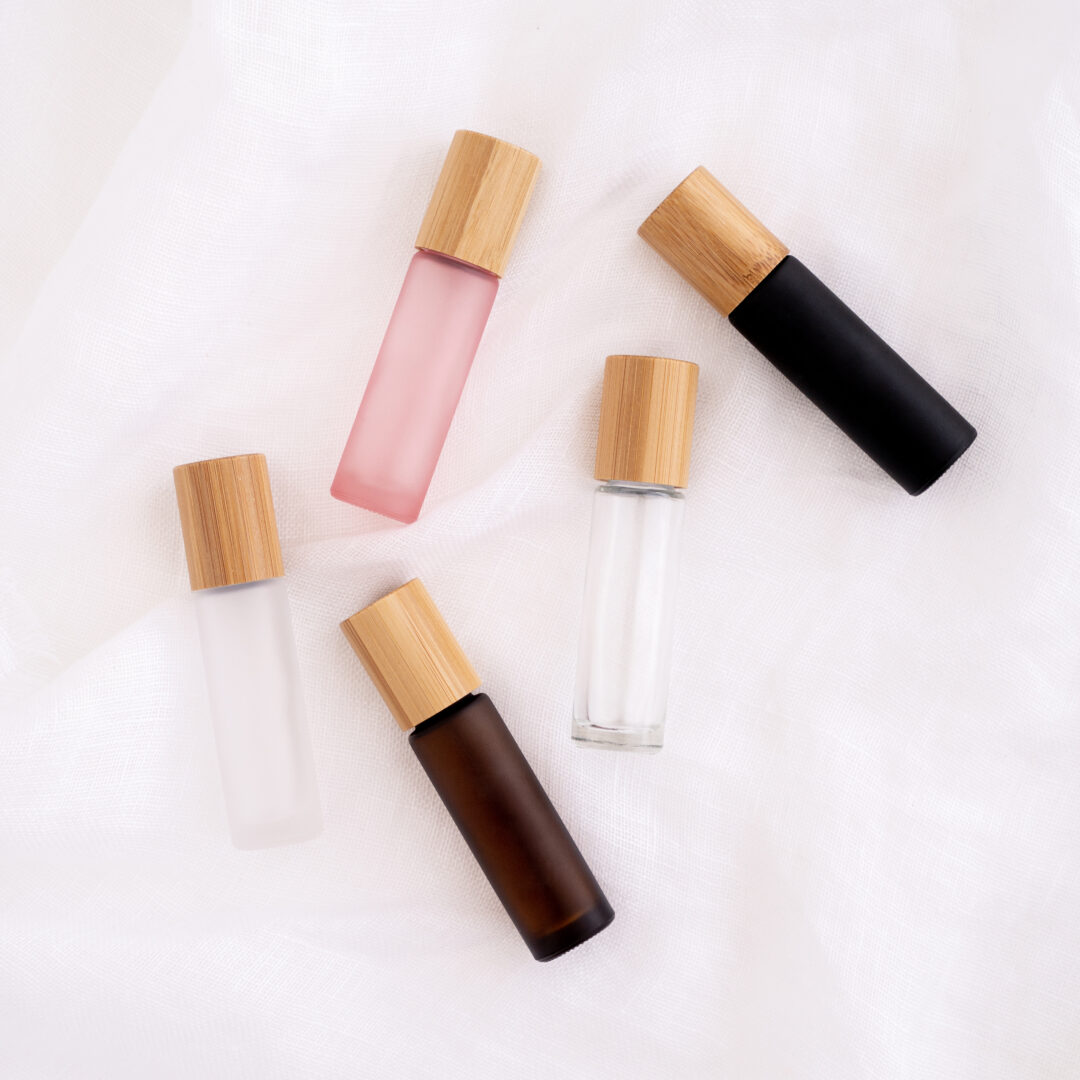
Pick an oil or oil blend that would be able to complement the scent of cocoa butter rather than clash with it. Almond sweet oil and fractionated coconut oil are great options for a smoother, silkier and more aromatic outcome.

Purpose

The primary purpose of cocoa butter oil is to hydrate and moisturise one’s skin. This can do wonders for dehydrated skin in certain areas of the body, especially during the season where it can be drier and make your skin rougher than it usually is. Some people also use it on their skin if their skin type isn’t too oily or sensitive. It’s best to conduct a patch test beforehand.

Aside from turning it into a moisturiser, cocoa butter oil can also help remove any signs of ageing and certain skin conditions like eczema. This includes smoothing out wrinkles and lines on different parts of the skin, helping scars and marks fade out. Women post-pregnancy love using cocoa butter oil to help with any stretch marks formed over the nine months.

Process

A cup of cocoa butter shouldn’t be directly heated on the stove. Instead, it’s advised to heat it through a double boiler, with just a cup of water on the bottom portion to produce steam for the top part. Cocoa butter should seem more malleable and melted before it fully liquefies from the heat.

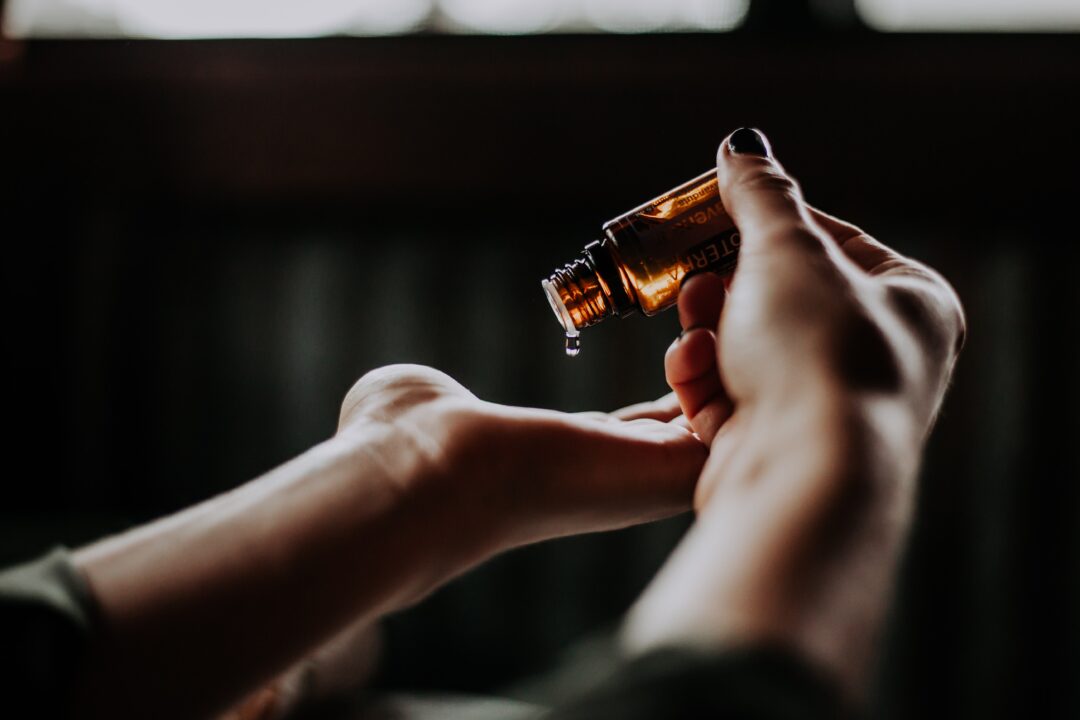
The cocoa butter should be taken out from the heat before mixing your chosen oil. You can gauge how thin you want the cocoa butter oil to be by slowly adding it and stirring. About two cups of your base oil should be good. Add essential oil as much as or as minor as you please in order to customise its benefits. 

Conclusion

Combining cocoa butter and oil can bring a better consistency than its original state. This can be used for different purposes, with a majority using it as a simple moisturiser, while others turn it into their own body cream or lip balm. 

Interested in more DIY products for essential oils? Anita’s Oil Essentials is a family-run business supplying aromatherapy accessories and products like cocoa butter and oils at a reasonable price. Order today!

How to Clean a Diffuser with Products You Can Find at Home

cotton buds

Staying at home for a long time can easily make us bored and weary, especially now that we have to do more things at home because it is safer for everyone. In fact, working from home has become the new normal for many people worldwide, and because of this, we sometimes lose the boundaries between work and being at home. 

Our new setup has also forced us to find ways to lessen the stress of increased activities at home. The use of oil diffusers at home can effectively help reduce your stress levels, giving you a low tox living environment. If you want to know more about its benefits, various essential oil books and reference information can be of great help.

Diffusers are good not just because of their smell but also because of their ability to instantly give us a different environment. If you use diffusers every day, you must remember to clean them more frequently to avoid clogging and possible damage. 

In this article, we will share our guide to help you clean your diffusers with the use of products you can find at home:

Things you will need:

Water

Distilled vinegar (5% acidity) 

Microfibre cloth

Cotton buds

Rubbing alcohol

The cleaning process:

Keep in mind that diffusers will accumulate dust over time, and since they need oil to work, oil residue may mix with the dust and disable the diffuser from functioning optimally. Here’s how you should clean the diffusers.

  1. Before cleaning the diffuser, make sure that it is not plugged.
  2. Empty the diffuser if there is any water left.
  3. Refill the diffuser with water up to half of its volume.
  4. Dissolve a ½ teaspoon of distilled vinegar to break down mineral deposits and kill moulds.
  5. Plug and turn on the diffuser. Let it work for 15 minutes so that the vinegar solution can dissolve all the oil and dust buildup.
  6. Turn it off and unplug and remove the vinegar solution from the reservoir.
  7. Wipe and dry the chamber using a microfibre cloth.
  8. With your cotton buds, dip it in rubbing alcohol and use it to remove the residue from the ultrasonic plate.
  9. Using the microfibre cloth again, damp it with clean water, and wipe off the dust on the exterior and power cord of the diffuser. 
  10. Check the exhaust vents and control if there are specks of dirt blocking them. Then, wipe them off using a clean damp cloth.
  11. Reassemble the diffuser and refill it with fresh water. Add any essential oil that you like.

With these steps, your diffuser will be clean and ready to work again. Cleaning your diffuser will also help it regain its power to function like it’s brand new! The cleaning tips we just shared is a deep cleaning process that can be done at least once a month. However, there is a different process if you want to do it routinely or every time you change the scent. Similarly, cleaning it frequently is more applicable if your diffuser is working every day.

Conclusion:

Diffusers are believed to be helpful for our overall well-being, as there are essential oils for babies, sleep, anxiety, and more. Since we are using diffusers to fill our home with healthy scented air, it is proper to consistently clear it from dirt and bacteria so that your diffusers won’t become germ generators!

Protect your precious essential oils from leaking with our dropper bottles. In addition, Anita’s Oil Essentials also offers a wide array of scents and accessories for your oils and diffuser. Visit our shop today to purchase the newest products and gift ideas!

A 3-Part Guide to Cleaning Your Essential Oil Bottles

clean essential oil bottles

Collecting multiple types of essential oils and creating your own blends has its own perk. You get to curate what kind of scent you want for your aromatherapy as well as the effect you desire.

However, as things run out and you have new blend ideas, you may start to wonder how exactly you’re going to get new ones and what to do with the ones you’ve emptied out. On the other hand, you can just get new packaging and just leave it at that.

If you want to go through an eco-friendly route, sanitising and repurposing the bottles is the best way to go. Whether it’s an open cap, used through a dropper or sprayed out through the top, following these steps should help get you some clean essential oil bottles at the end of it.

1. Gather Your Tools

As with any procedure, you’re first going to prepare the equipment needed for the actual process of cleaning your essential oil bottles. When it comes to items, there are not any industrial-grade objects needed. A few simple dishes would be enough to cleanse the bottles. However, we recommend using an over after the cleaning for the sterilisation phase of cleaning.

Other items needed also include:

  • Vinegar. Even when an essential oil bottle already appears empty, there’s a bit more of the essence in the bottle. Vinegar helps absorb the rest of the oils and scents lingering in the bottle so that it’s just like brand-new.
  • Dish Soap. Cleaning always requires soap, and the best type to use for essential oil bottles would be liquid dish soap. Liquid hand soap can work too, but the former may be better for the glass product. 
  • Hot Water. Three batches of hot water will be needed to fully clean out the oil from your bottles. One would be mixed in with vinegar, one will be used with the soap and one will be used for rinsing.

2. Clean Your Essential Oil Bottles

First, soak your essential oil bottles into the vinegar and hot water mix. The measurement should be a ¼ of a cup to 16 cups of water. This can be subject to the number of essential oil bottles you will be cleaning, though. 

After letting it soak in that mix for around five minutes, drain out that mixture and replace it with a combination of dish soap and hot water. After rubbing it to strip away any last layers, use another batch of warm water just to rinse everything off.

Dry and sterilise the oil bottles after completely removing any residue left on and in the bottle. Sterilising essential oil bottles isn’t that complicated, as you’re essentially just baking the glass under 200° F for a couple of minutes. Be sure to monitor your bottles accordingly.

3. Reuse Your Bottles However You Please

Finally, after the bottles have been cleaned and sterilised, it’s time to be used again. The bottles can hold different essential oils from what they had originally housed, or you could make another custom blend to fill the bottles with. 

Conclusion

Essential oil bottle cleaning may not be as therapeutic as smelling lavender, peppermint and the like, but it can be satisfying to see the finished product and end up with a clean group of bottles. Plus, experimenting with different oils afterwards is quite fun!

Looking for dropper bottles to add to your collection? Anita’s Oil Essentials helps supply multiple aromatherapy accessories for aspiring essential oilers at an affordable price. Order today!

What You Should Know When It Comes to Carrier Oils

aromatherapy and essential oils

Aromatherapy has been a constantly rising trend. However, in the more recent years, it’s come to the forefront for many people. Essential oils for anxiety have become quite helpful over the years.

There are quite a few things that go into aromatherapy. Read on to find more about one of the core components, carrier oils.

What are carrier oils?

As the name suggests, carrier oils are a helpful piece of the aromatherapy process. In some cases, they are also referred to as base oils. Usually, they’re sourced from plant segments, specifically the kernel, nut or seed. They primarily serve as a means for essential oils to be diluted before skin application. They’re highly concentrated, and having them diluted allows a tiny amount to get spread over a bigger skin area.

All aromatherapy diffusers probably have some type of carrier oil in the mixes placed in them. They are crucial for essential oils since they shouldn’t get applied to the skin directly.

The dilution depends largely on: 

  • A person’s health and size
  • The intended area/s where the essential oil will be applied
  • What type of essential oil is involved

That said, for adults, it’s usually a ratio of 0.5 to 5 per cent.

Aside from its use for aromatherapy massages and such, carrier oils also get mixed into essential oils for:

  • Bath oils
  • Body oils
  • Creams
  • Hair oils
  • Lip balm
  • Skin lotions

What are the different types of carrier oils?

It should be noted that jojoba oil is more liquid wax than it is oil. However, it’s used as carrier oil as well. There are several ones available out there in the market, but quite a number have been more popular than others:

  • Apricot kernel oil
  • Avocado oil
  • Coconut oil
  • Grapeseed oil
  • Hazelnut oil
  • Hemp oil
  • Neem oil
  • Olive oil
  • Safflower oil
  • Sesame oil
  • Sunflower oil
  • Sweet almond oil

It’s key to remember that the oil could go rancid if exposed to direct sunlight and heat. A good way to avoid this is to go for cold-pressed oils.

What’s the best way to pick a carrier oil?

Skin type makes a huge difference in which carrier oil will be best. Allergies need to be taken into consideration, as well as the area of oil application. Experimenting should be done cautiously; a patch test will be helpful.

If it’s going on someone’s face, especially when it’s one that’s prone to acne, sunflower seed oil or grapeseed oil will be best. As long as it’s an oil that’s on the thinner side, it’s the best choice to go with.

When it comes to aromatherapy massages, it’s key to get the kind of oil which has certain staying power. That way, the massage therapist will have no issue with their hands over the person’s skin.

Conclusion

Carrier oils, sometimes known as base oils, are generally used to diffuse essential oils since they’re highly concentrated. A number of popular ones include apricot kernel oil, hemp oil and sesame oil. They are crucial for anyone that uses essential oils for aromatherapy massages and more.

Looking to get into low tox living? Check out Anita’s Oil Essentials! We supply quality aromatherapy accessories at reasonable prices.

DIY Roller Bottles

10ml Roller Bottles | essential oils bottles | 10ml Amber Roller Bottles with Bamboo Lids

Tips to make your own Roller Bottle Blends

Would you like to make your own Roller Bottle Blends to support your family? But don’t know where to start?  It can be overwhelming when you first get inspired or interested in essential oils. What oils to use? How do I  apply them and where?

Well, here is a little bit information you may find useful for making your own roller bottle blends.

I absolutely love making roller bottles for my family and friends, it is such a convenient way to use these amazing oils, perfect for while on the go. I make roller bottles for just about everything, including my non toxic perfumes, immunity support, headaches, sleep, study and more. Our family has come to rely on having these handy non toxic remedies readily available in our home.

First of all, what are Roller Bottles?

A roller bottle is a glass bottle, with a little top that contains a steel ball in it,  which rolls around freely and helps to roll the oils onto your skin. 

Roller bottles come in a variety of sizes, 5ml and 10ml are the most popular.

Glass Bottles are the preferred bottles for use with essential oils, although quality PET plastic bottles are also suitable, especially for our kiddies to use, a perfect option for them to carry their oils with them while at school or out and about.

Roller bottles are a perfect way to get the most out of your essential oils (avoid wastage), which in turn saves money and roller bottles a safe form of applying your oils topically.

Before you begin, I  would suggest you clean your bottles and equipment you are going to use. This can be as simple as washing in warm soapy water, rinse and dry thoroughly.

What is a carrier oil?

Carrier Oils are used to dilute essential oils and help absorb them into the skin and enable us to cover a larger area of the body with essential oils without using to much.  We always recommend using a carrier oil when applying oils to your skin, this will not only assist with the absorption process but will reduce the chance of having a reaction to the oil, essential oils are very potent, therefore you only need a couple of drops. Carrier Oils are a personal preference, I love to use Fractionated Coconut Oil.  Although I do suggest using any of the following;

Fractionated Coconut Oil

  • FCO is a light oil which softens and hydrates the skin while assisting with the distribution of essential oils.
  • FCO is known to leave the skin silky smooth without a greasy residue.

Sweet Almond Oil

  • Known to soften and nourish the skin
  • Abundant in vitamin E and other proteins
  • Known to relieve dry, itchy and inflamed skin
  • An excellent carrier oil for aromatherapy

Jojoba Oil

  • Jojoba naturally contains a balance of vitamins A, D and E which are known as skin healing vitamins.
  • Suitable for all skin types — including oily skin and the most sensitive baby skin

Step 1  – Collect all your supplies

  • 5ml or 10ml Roller Bottles   Bottles and Jars
  • Essential Oil Key Helper for removing and replacing Roller Tops (Optional) Essential Oil Key Tool
  • Funnel (Optional) Funnels
  • Pipettes (Optional) Pipettes
  • Essential Oils you are using, I prefer Doterra or Young Living Essential Oils because of their highest quality testing.
  • Choose your carrier oil, my oil of choice is Fractionated Coconut Oil (See below for more info) Fractionated Coconut Oil

Step 2  – Choose a recipe

You can basically use any recipe you want, (we have several recipe sheets and booklets on our website) or essential oils you would like to use depending on the situation you want to use it for or for any particular ailment, this can be a single oil, multiple oils or a oil blend and have these on hand. 

Some of my favourite recipes include;

Energy and Focus Roller Blend
  • 5 drops of Peppermint
  • 5 drops of Wild Orange
  • Top with FCO or carrier of your choice

To Use: Apply to back of neck and under nose

Sleepy Time Roller Blend
  • 4 drops of Lavender
  • 2 drops of Ylang Ylang
  • 1 drop of Vetiver
  • Top with FCO or carrier of your choice

To Use: Apply to back of neck, temples or feet

Tension Roller Blend
  • 3 drops of Lavender
  • 3 drops of Peppermint
  • Top with FCO or carrier of your choice

To Use: Apply to back of neck, forehead and temples

Immunity Support Roller Blend
  • 3 drops of Lemon
  • 1 drop of Melaleuca, Oregano and Lavender
  • Top with FCO or carrier of your choice

To Use: Apply to feet, chest or abdomen

Stress Relief Roller Blend (Dr Marizan Snyder)
  • 12 drops of Lavender
  • 9 drops of Frankincense
  • 9 drops of Wild Orage
  • Top with FCO or carrier of your choice

To Use: Apply to pulse points on wrist and neck when you feel stressed or wired. You can also hold open the bottle under your nose and take a few deep breaths when you need to find the calm.

Step 3  – Add your ingredients to your bottle

  • Add your essential oils to your roller bottle
  • Top up with your choice of carrier oil.
  • Replace Roller ball insert and cap
  • Gently shake your roller bottle to ensure all oils are mixed together.

Wipe any oil residue off you bottle and apply your label.

And now you are ready to go…

Note :

  • Suggested dilution rate, start with at the most 10 essential oil drops in a 10ml bottle for an adult and 2 drops for a child.
  • This will vary from recipe to recipe, some recipes have over 30 drops of Essentials in a 10ml bottle, I suggest you do your own research on how you want to use your oils.
  • Also some rollers can be a little tight to start with, may I suggest you try rolling the ball under your thumb before placing it on the bottle. Sometimes this may not work, grab something point, (like a pen) and pop the ball out and replace and then try rolling under your thumb again, this should do the trick…. Happy rolling….

Monthly Diffuser Maintenance

Deep Clean Every Month

We recommend doing a regular clean of your diffuser.  If you are using your unit every day, than we would suggest a monthly clean. This will ensure your diffuser continues  working properly.

Directions:

  • Fill your diffuser half way with clean water.
  • Add about a tablespoon white vinegar.
  • Let the diffuser run for about 5 minutes to allow the water-vinegar mixture to disperse throughout the unit and clean it.
  • Drain the diffuser completely.
  • Use a little lemon to wipe off any stubborn marks.
  • Rinse with clean water.
  • Use a dry cloth to wipe the diffuser and dry it thoroughly.

Any now you are ready to go for another month of enjoying all the benefits that come with using your gorgeous diffuser

Cuticle Cream with Rose Essential Oil

Cold weather can be tough on skin and cuticles, and can often form dry spots and crack. Making a homemade cuticle cream is a great way to bring moisture and health back to your nails. You can also use this cream on your hands, lips, or anywhere you have dry spots.

Ingredients:
2 tablespoons shea butter
1 teaspoon beeswax
1 tablespoons Fractionated Coconut Oil
7 drops Rose Essential Oil

Directions:

In small glass container, combine shea butter, beeswax, and Fractionated Coconut Oil. Place in saucepan with 1-1.5 inches of boiling water.
Stir ingredients until combined (around 5-10 minutes).
Once melted, remove from heat and let rest for 3 minutes.
Add essential oils and stir.
Pour into container and let harden 2-3 hours.
To use, just apply a small amount to cuticles and rub until absorbed.

About Rose Oil Essential Oil

  • Combine with Hand and Body Lotion for a moisturising application or combines well with other moisturisers to help balance moisture levels in the skin
  • Reduces the appearance of skin imperfections
  • Promotes an even skin tone and healthy complexion
  • Emotionally uplifting
  • Promotes feelings of relaxation